
Collaboration with Kelly Devitt-Steenhagen
This project focused on developing a workflow for creating porcelain gradients using mason stains. This process was implemented in the spring semester of 2019 by students printing ceramic tiles as an assignment for an Introduction to Fabrication course taught at Iowa State University in the Department of Architecture by Shelby Doyle. This work can be found here.
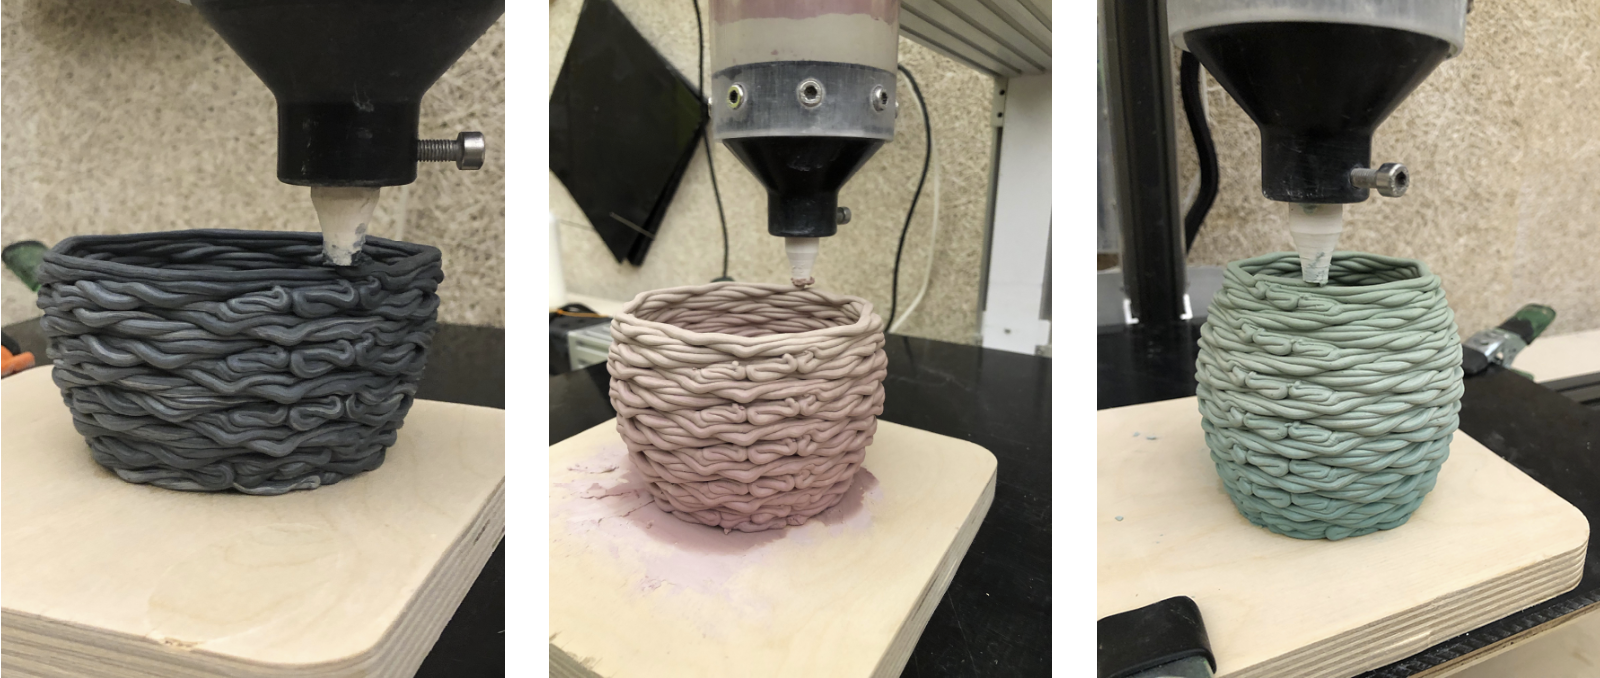
Various gradients printing the same vase design.
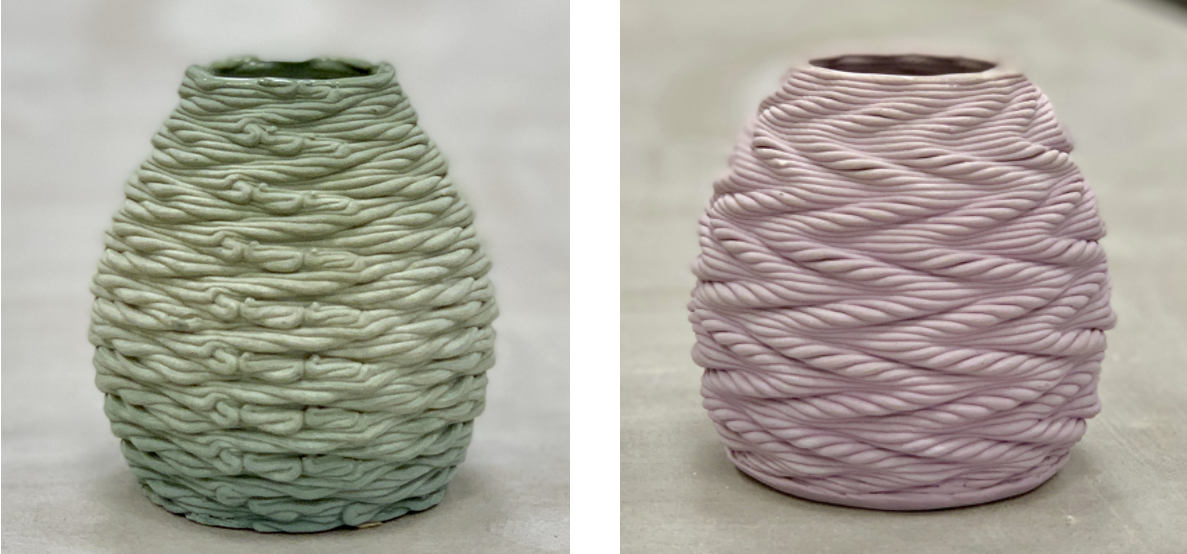
Fired vases.
WORKFLOW
Adding the Mason Stain
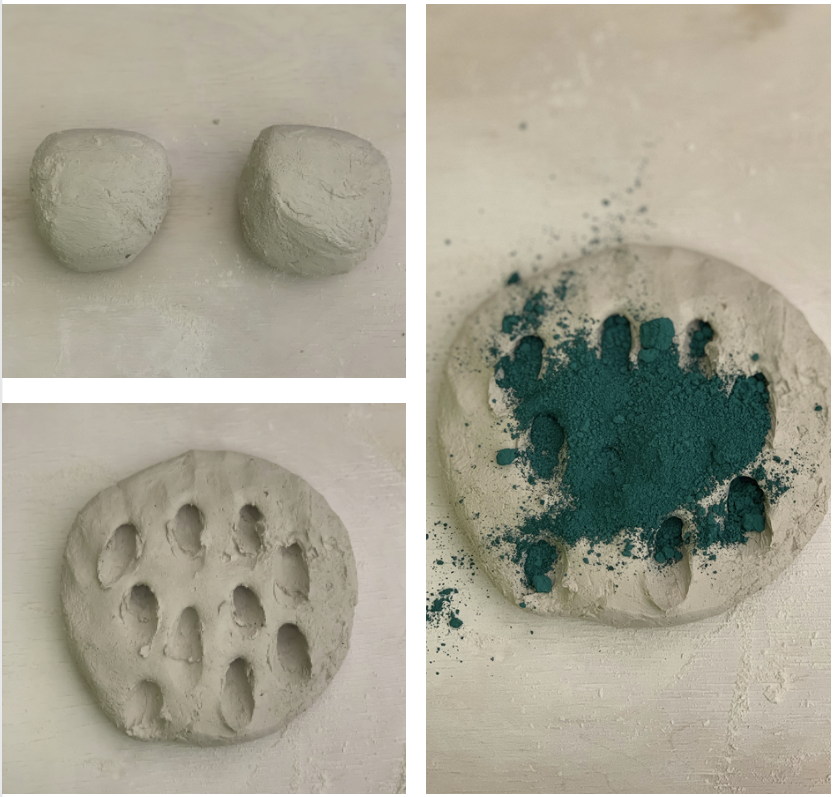
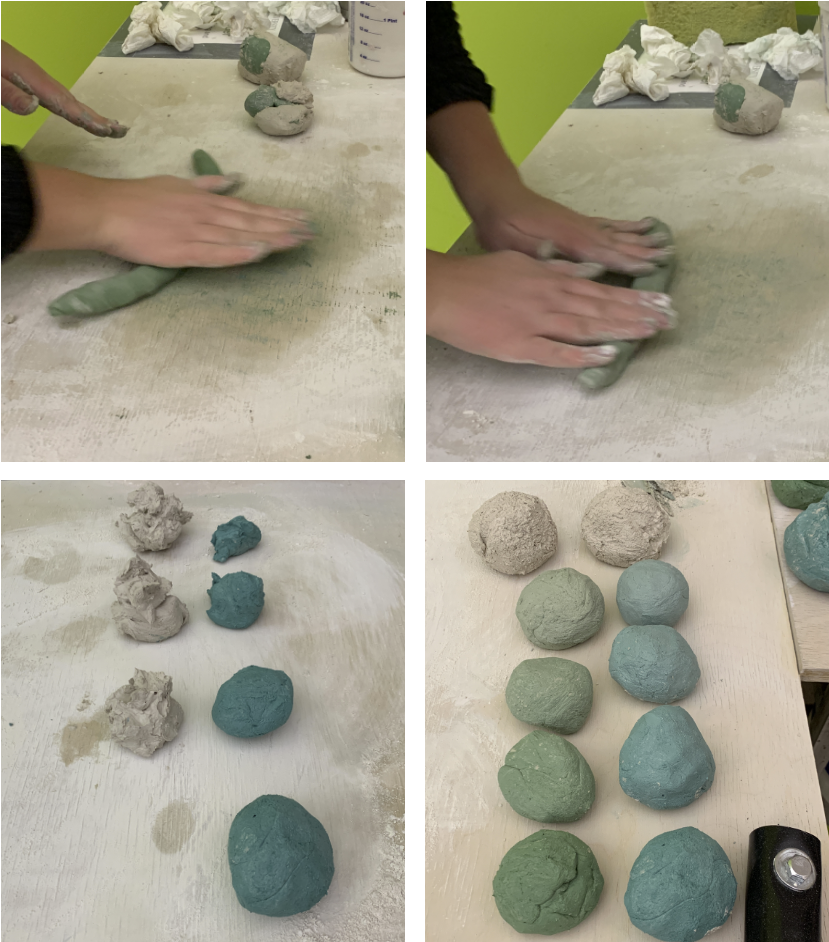
Take your softball sized ball of porcelain and press it flat into a disc. After it has been flattened, use your finger to press into the clay making divots for the mason stain to gather. Pour the amount of mason stain that is desired (more stain = bolder color – Less Stain = softer color).
Adding the Mason Stain: Continued
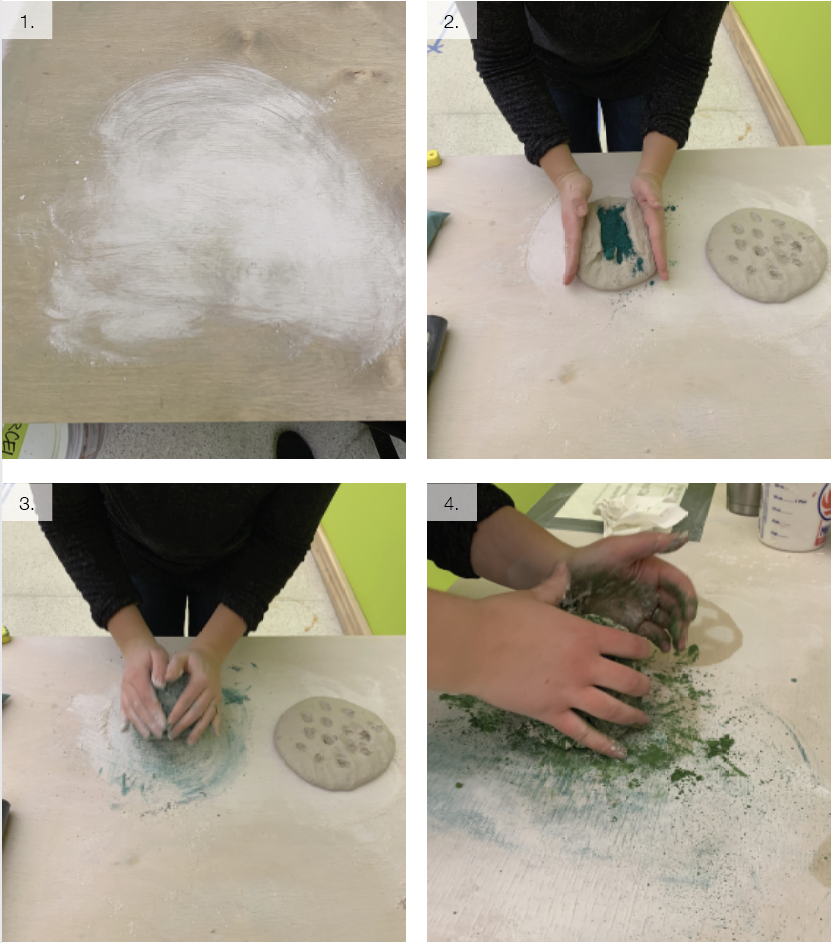
Once the mason stain of your choice is applied to the porcelain you may begin wedging the clay. This process may take a few minutes since you are adding a completely dry substance to the already wedged porcelain.
1. Recover the workspace in dry porcelain.
2. Fold the porcelain with mason stain into a ball with the stain in the center.
3. Begin to wedge the clay by pressing the clay forward.
4. Using your fingers pull the clay back toward you.
Continue to wedge (steps 3 and 4) until the mason stain is fully incorporated.
Creating the Gradient
Once the powder is absorbed into the clay, begin to roll the clay into coils until you have an even color throughout the ball of porcelain. Take the stained ball of clay and separate it into 3 even lumps of clay and 1 larger lump of clay (4 total). Set the large lump aside. Create 3 separate balls of regular porcelain in sizes small, medium and large. Wedge each of these into the three lumps of stained clay create different hues.
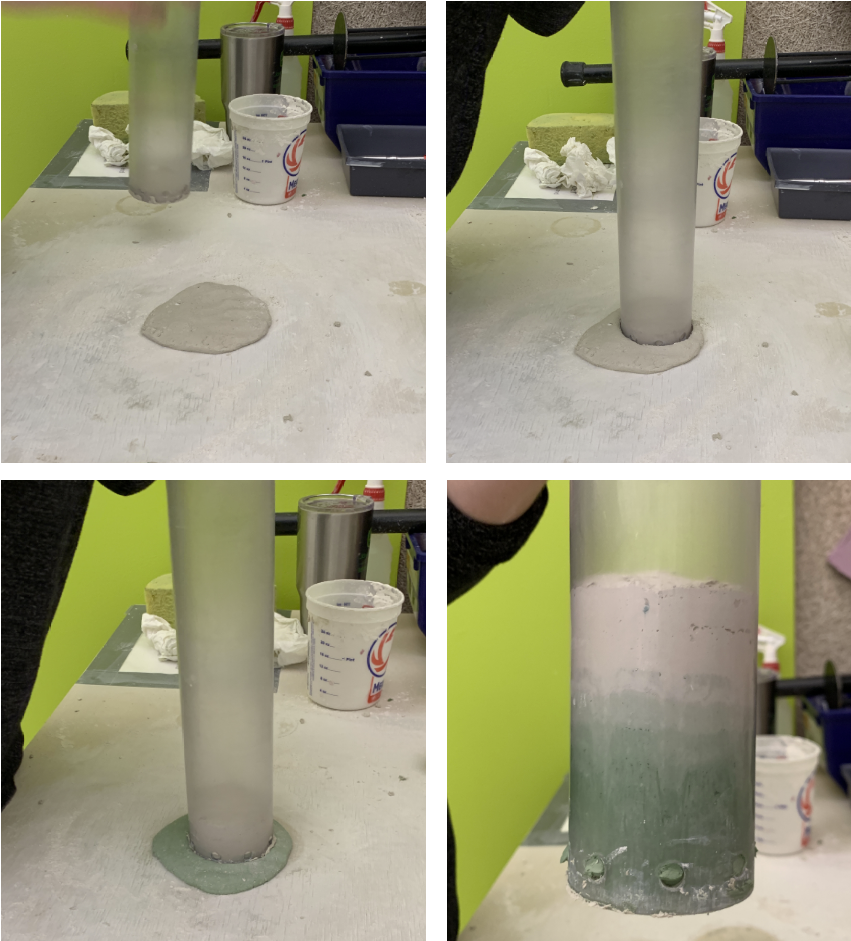
Extruding the Clay
After all your clay is evenly mixed, flatten each ball and press the tube onto the surface. This will cut out a perfect sized disc that will remain inside of the tube. You may choose to start with the darkest or lightest color first. Repeat this over and over until you are out of clay.
White Clay
Hue 1
Hue 2
Hue 3
Full Stain 4
Full Stain 4
Hue 3
Hue 2
Hue 1
White Clay
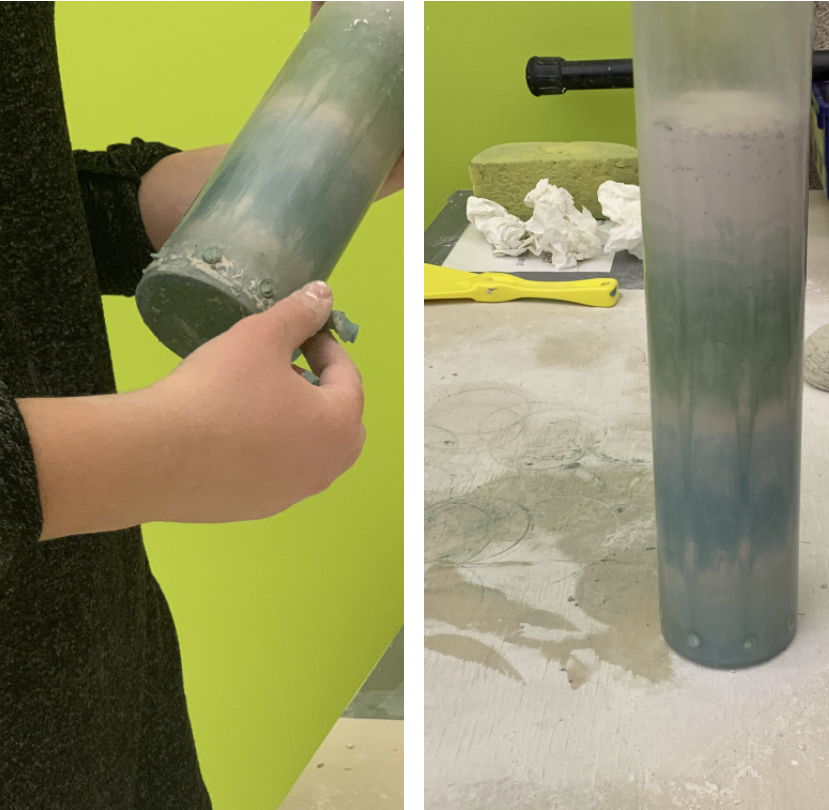
Finishing Touches
Clean off any remaining pieces of clay. Prepare tube for use.